I'm a fan of square pendants and after I bought quite a few I decided it was time to make my own, so I bought a kit from
anniehowes and I received some lovely italian and chiyogami papers along with everything else I needed to get started: Glamour Glaze, square glass pieces, metallic bails and a tube of E6000 adhesive.
It was easier then I imagined, and so much fun! There are a few steps on how to make this:
First, you add a drop of Glamour Glaze on the back of the glass square (front side is rounded the other one is flat)
then you place the glass on top of the paper, choosing the design spot that would look best and you press slightly to prevent air bubbles.
You let it set like that for about two hours till the glaze is dry.
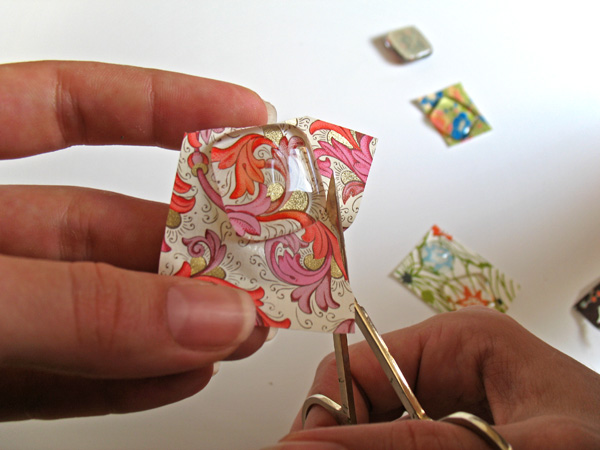
Then, you trim the excess paper and turn it with the paper side up, adding plenty of glamour glaze on the back of the pendant.
You leave it like this for a full day till the glaze becomes transparent and not sticky anymore. Add a drop of E6000 on the bail and fixing it on the back of the pendant, right in the middle of one side, pressing slightly.
You leave it like that for another full day so the glue sets and voila! The pendant is ready!
As you can see, once you've started, you just can't stop to a decent number of pendants. At least, I couldn't!
Personal tip: since glamour glaze is water based and might remain slightly sticky in contact with water, I add a coat of another type of varnish on top of it (transparent nail lacquer will do)